By Katie Naphas /// Features Editor
The popularity of bath bombs has boomed over the past couple of years. There are about 10 million tutorials on how to make your own (heavily inspired by the expensive kind sold at Lush), so I thought it was about time I took a shot at making some.
First things first, you gotta know that some of the ingredients are a lil’ pricey. Essential oil (the good, non-toxic, non-artificial-smelling kind) costs some money, but it’ll last you forever so choose a smell you can stand and/or a flavor you might be inclined to use for making candies or desserts of some sort. I chose lemongrass as an homage to my fave prebiotic ice cream down in SoCal and now my entire house smells like it. Things could be worse, but I think I might be allergic or something.
Anyway, other than the essential oils, the ingredients are pretty easy to obtain and relatively inexpensive. Here’s what you need:
- 1 cup baking soda
- ½ cup cornstarch
- ½ cup epsom salt
- ¼ cup cream of tartar OR ½ cup citric acid
- 1 tsp water
- 3 tsp oil (olive or canola oil will do)
- 2 tsp essential oil(s) of your choice
- as much food coloring as you desire (optional)
- flower petals (also optional)
- time
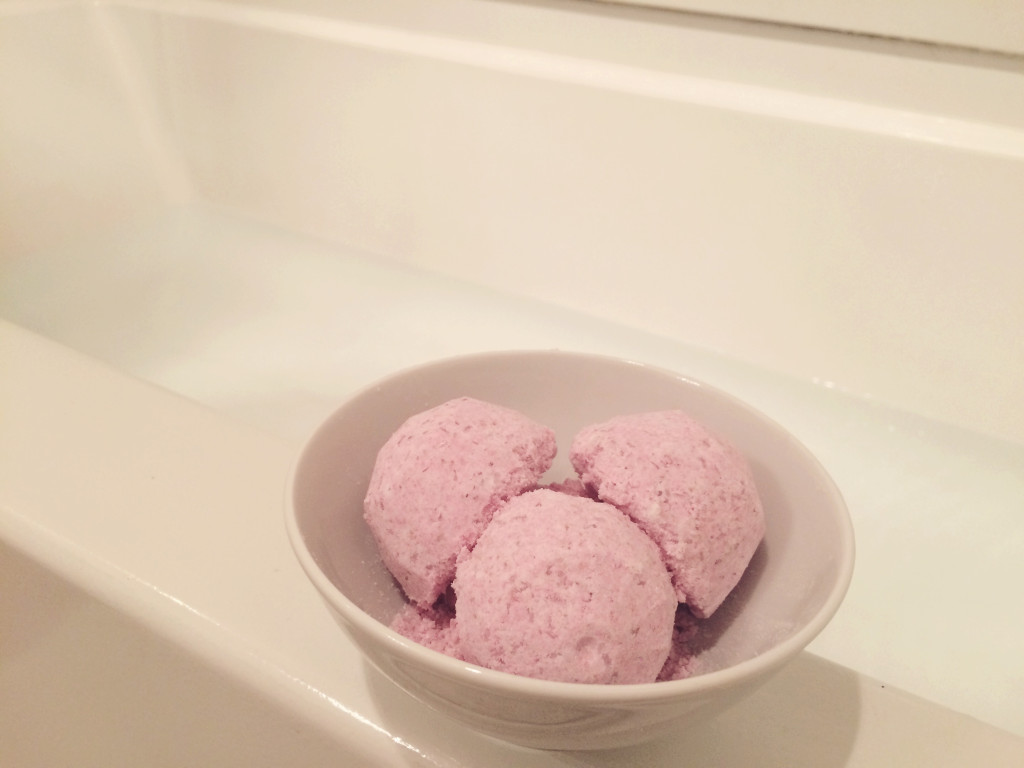
I decided that I didn’t need a ton of bath bombs so I used half as much of everything listed above and still ended up with four of them ready to go.
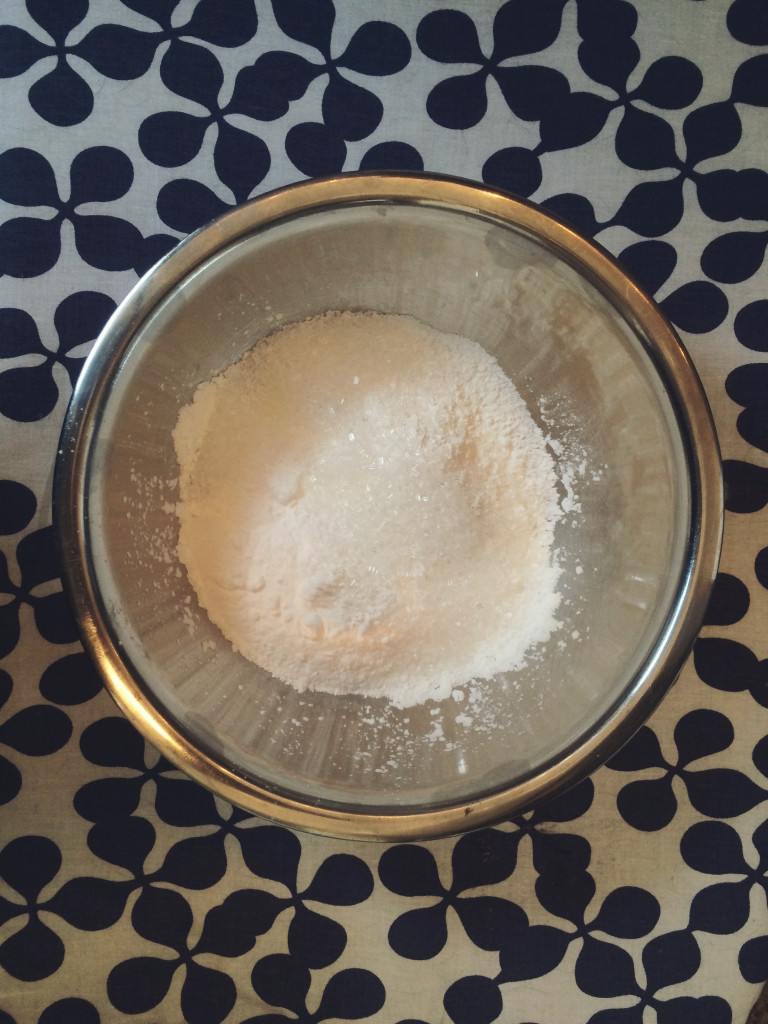
The first thing you’ve gotta do is measure out all of your dry ingredients — that means the baking soda, corn starch, epsom salt, cream of tartar/citric acid — and put them into a mixing bowl, ideally. If you’ve got a whisk, use it. If you are a broke college student with no use for a whisk, grab a fork and get busy. Get that shit blended.
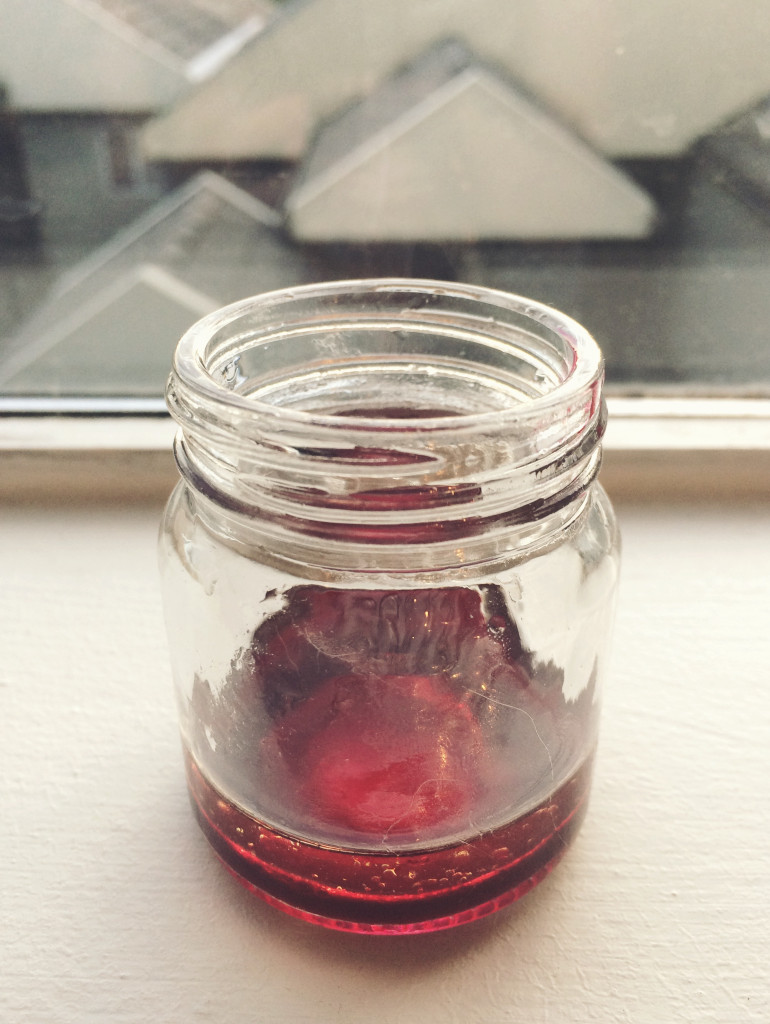
In a separate container, get your wet ingredients meted out and mix those with whatever you want.
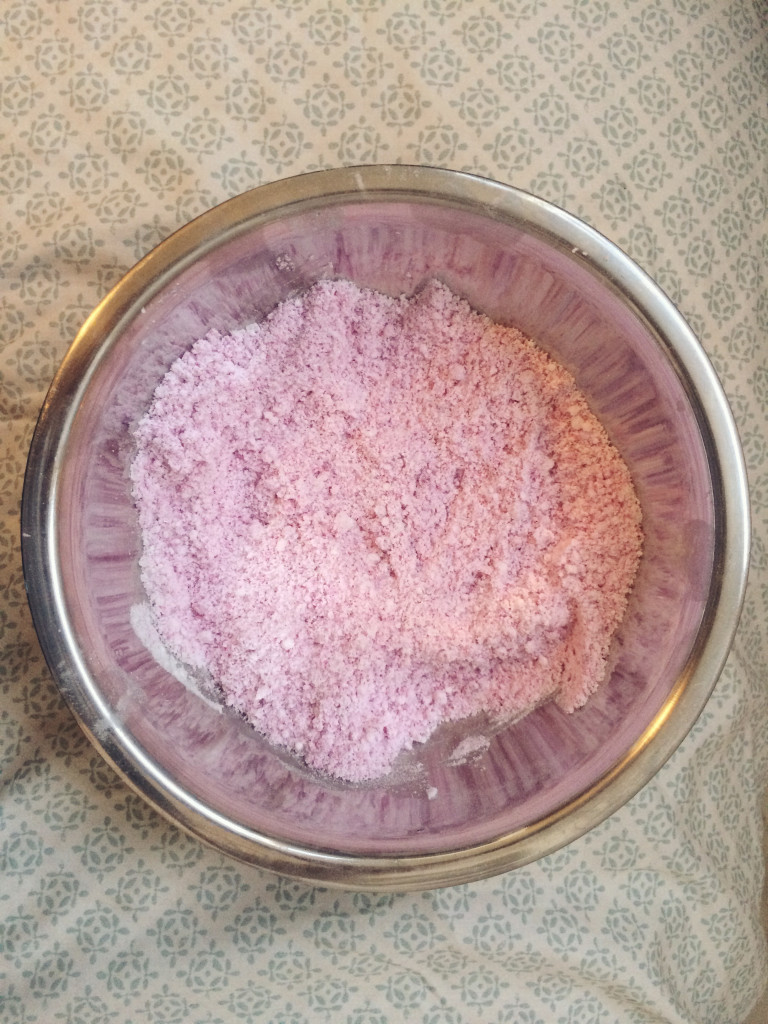
After everything’s been blended, you can begin to slowly pour the wet ingredient mixture into your dry ingredient bowl. Note: do this slowly and make sure it’s all blending together well and then continue to pour the wet ingredient mix in parts until it’s all gone. Eventually, your mixture should be all together and not have any lumps or chunky parts. If you go too quickly, your mix will sizzle and clump up, and — though you CAN recover from that — it’s better to get it right the first time.
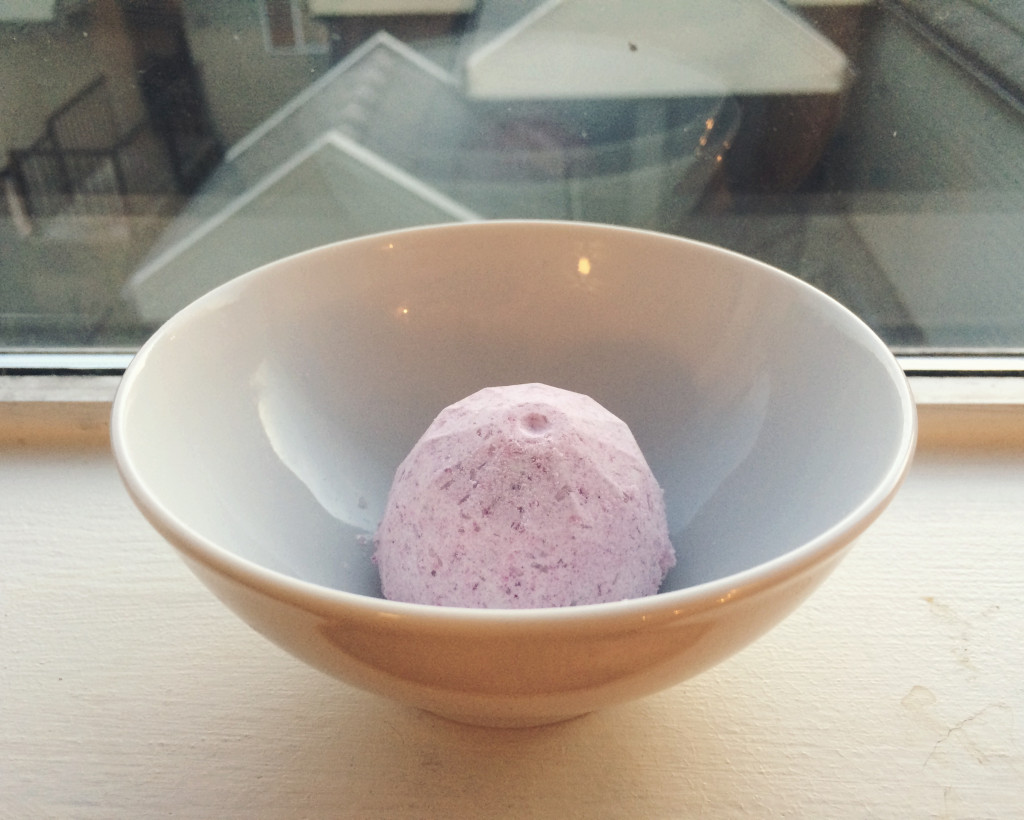
Ultimately, you’re going to need something to scoop it into. I happen to have fairly large Easter eggs around the house, so I used the half-sphere side of one of those and filled it up. All of that stuff you learned in home economics about not packing ingredients doesn’t apply here. If you want it to work and not crumble apart, you’re gonna have to get it as packed into your container as possible. Another possible option is using an ice cream scooper, but you have to make sure (again) that you’re pushing it against the scoop’s edges as much as possible. If you want to take it to the next level, you can get a bath bomb mold online, but you clearly don’t need to.
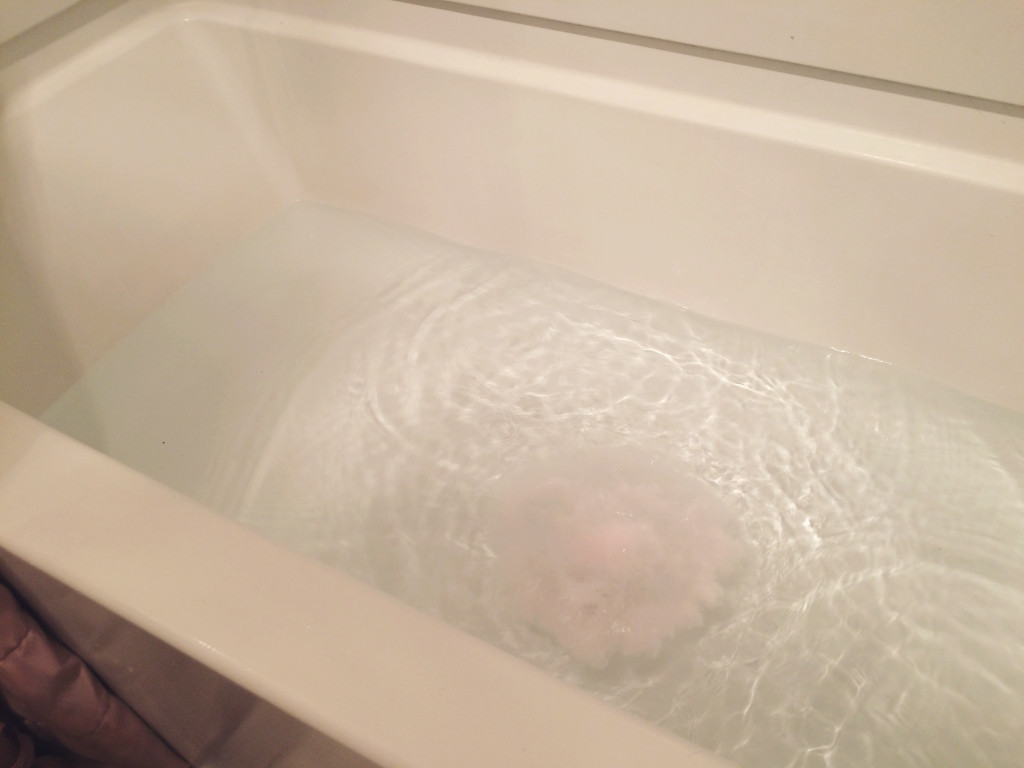
After you’ve gotten however many bath bombs you can make with your proportions out, you have to put them on some wax paper or in a bowl, and let them dry. I let them dry over night because I have shit to do. After they’ve dried out, you can take a bath with them and enjoy smelling very very strongly of something for a little while. I had to use two at a time in order to get them to properly fill my bathtub up, but that shouldn’t be a problem if you’re okay with the experience being less intense/if you use an actual bath bomb mold.
If you’re going home over spring break or even to a hotel or literally to any place that might have a bathtub, you can bring and use these. If not, it’s not like they go bad (though they should be used within six months). So find a bathtub, settle in and get relaxing.
Subscribe to the Mossy Log Newsletter
Stay up to date with the goings-on at Lewis & Clark! Get the top stories or your favorite section delivered to your inbox whenever we release a new issue.

Leave a Reply